Creating a sourdough starter can be a rewarding experience, but it often comes with its fair share of frustrations. Many beginners end up wasting time and flour, leading them to abandon the process altogether. This guide will walk you through a simple method to create a thriving sourdough starter without the hassle.
Key Takeaways
- Use a consistent feeding schedule for your starter.
- Accurate measurements are crucial for success.
- Be patient; fermentation takes time.
- Avoid using whole wheat flour in the early stages.
- Monitor temperature to ensure proper fermentation.
Understanding Sourdough Starters
A sourdough starter is a mixture of flour and water that captures wild yeast and bacteria from the environment. This culture is what gives sourdough bread its unique flavor and texture. When you know how to create a sourdough starter properly, you’ll have a powerful tool for baking beautiful artisan loaves.
The Common Pitfalls
When I first started, I made the mistake of creating way too much starter. I wasted a lot of flour and time, which is a common frustration for many home bakers. To avoid this, I’ll share a proven method that has worked for me and many others in our community.
Getting Started
To create your sourdough starter, you’ll need:
- Digital scales (measuring in grams is best)
- A large jar (capable of holding at least 300 grams of water)
- Filtered tap water (or unfiltered if you’re not worried about chlorine)
- Strong white bread flour
- Whole wheat flour
Step-by-Step Process
- Day 1: In your jar, weigh out 20 grams of water, 10 grams of strong white bread flour, and 10 grams of whole wheat flour. Mix well and cover the jar. Leave it for 24 hours.
- Day 2: Add 20 grams of water, 10 grams of strong white bread flour, and 10 grams of whole wheat flour to a new jar. Add 20 grams of your starter from Day 1. Discard the rest. Cover and leave for another 24 hours.
- Day 3: Repeat the feeding process, but you may notice a strong smell. This is normal. Discard the excess starter and feed it again with the same measurements.
- Day 4: You might see some changes, but don’t worry if it looks like a watery soup. This is part of the process. Continue feeding with 20 grams of water and 20 grams of strong white bread flour.
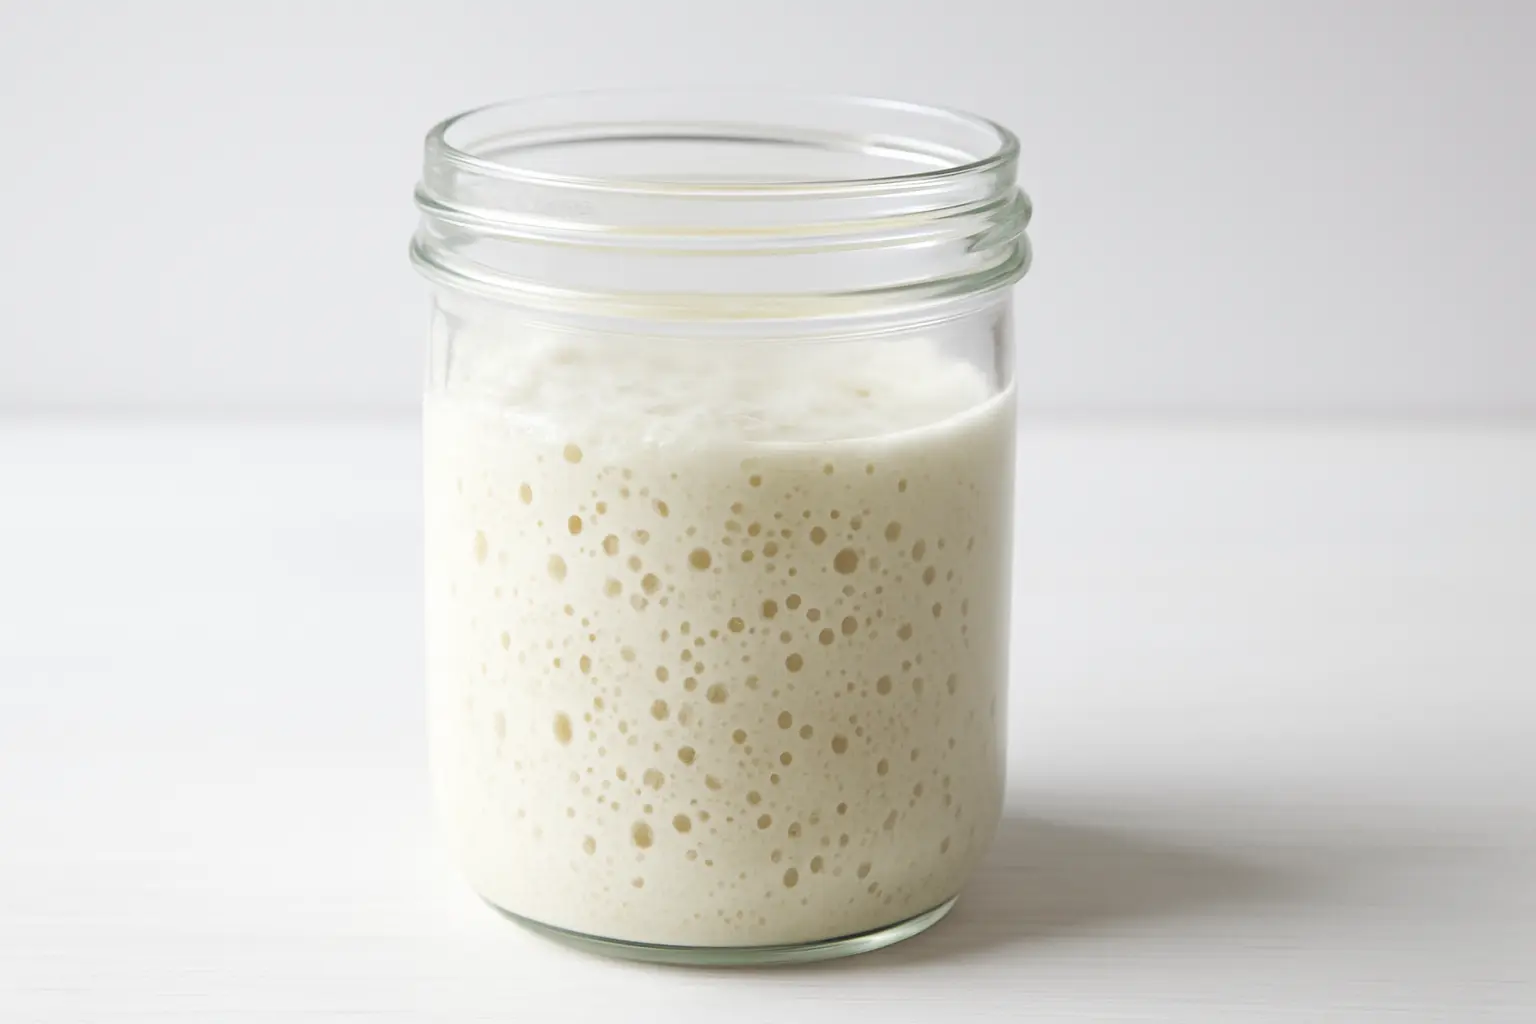
- Day 5: You should start to see bubbles and a change in smell. Keep feeding it the same way.
- Day 6: By now, your starter should be bubbly and have a pleasant sour smell. Mark the height of the starter to track its growth. From now on, you can keep the leftover starter in the fridge instead of discarding it.
- Day 7 and Beyond: Continue feeding your starter daily. It’s important to keep nurturing it for at least another week to build strength.
Temperature Matters
Temperature plays a big role in fermentation. Ideally, keep your starter at around 25°C (77°F). If it’s too cool, fermentation slows down; if it’s too warm, it can run too fast. You can use a heating pad or a cool box to maintain the right temperature.
The Importance of Patience
Many bakers give up when they don’t see immediate results. Remember, fermentation takes time. Your starter may go through a dormant phase, but trust the process. It’s normal for it to look inactive at times.
Final Thoughts
After about two weeks of consistent feeding, your sourdough starter should be ready for baking. But don’t rush it! Make sure it’s strong enough to produce a good loaf. In the next video, I’ll show you how to use your new starter to bake your first loaf of sourdough bread that springs beautifully in the oven.
Stay tuned for more tips and tricks on sourdough baking!
Leave a Reply